
Your Print Wallet — Embedded Solana Wallet
When you sign in with a social account (Google, Telegram, or X) for the first time, print.world creates a Print Wallet for you — an embedded crypto wallet on Solana that powers trading, minting, and everything else on the platform. There’s nothing to install: your wallet is ready as soon as onboarding finishes.
If you haven’t signed in yet, start with Connecting Your Wallet.
The Print Wallet Onboarding Flow
Section titled “The Print Wallet Onboarding Flow”Right after your first social sign-in, a short guided flow — Generate → Reveal → Store → Username — sets up your wallet. If you close the page partway through, the flow resumes where you left off the next time you open print.world.
-
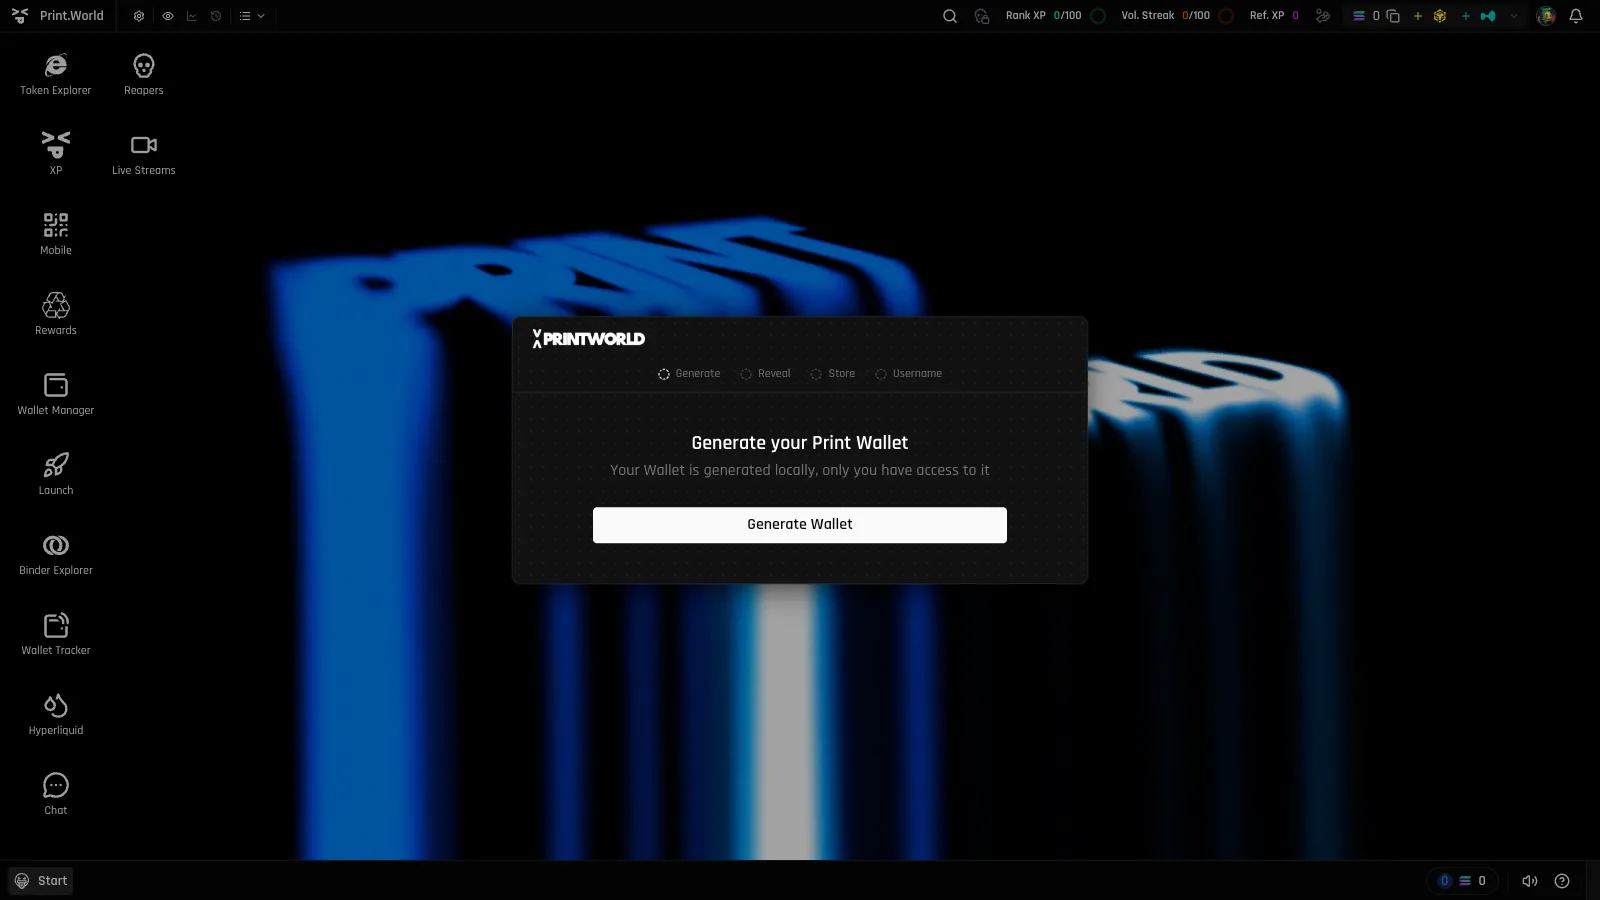
Generate. The “Generate your Print Wallet” screen appears. Click Generate Wallet to create your wallet.
-
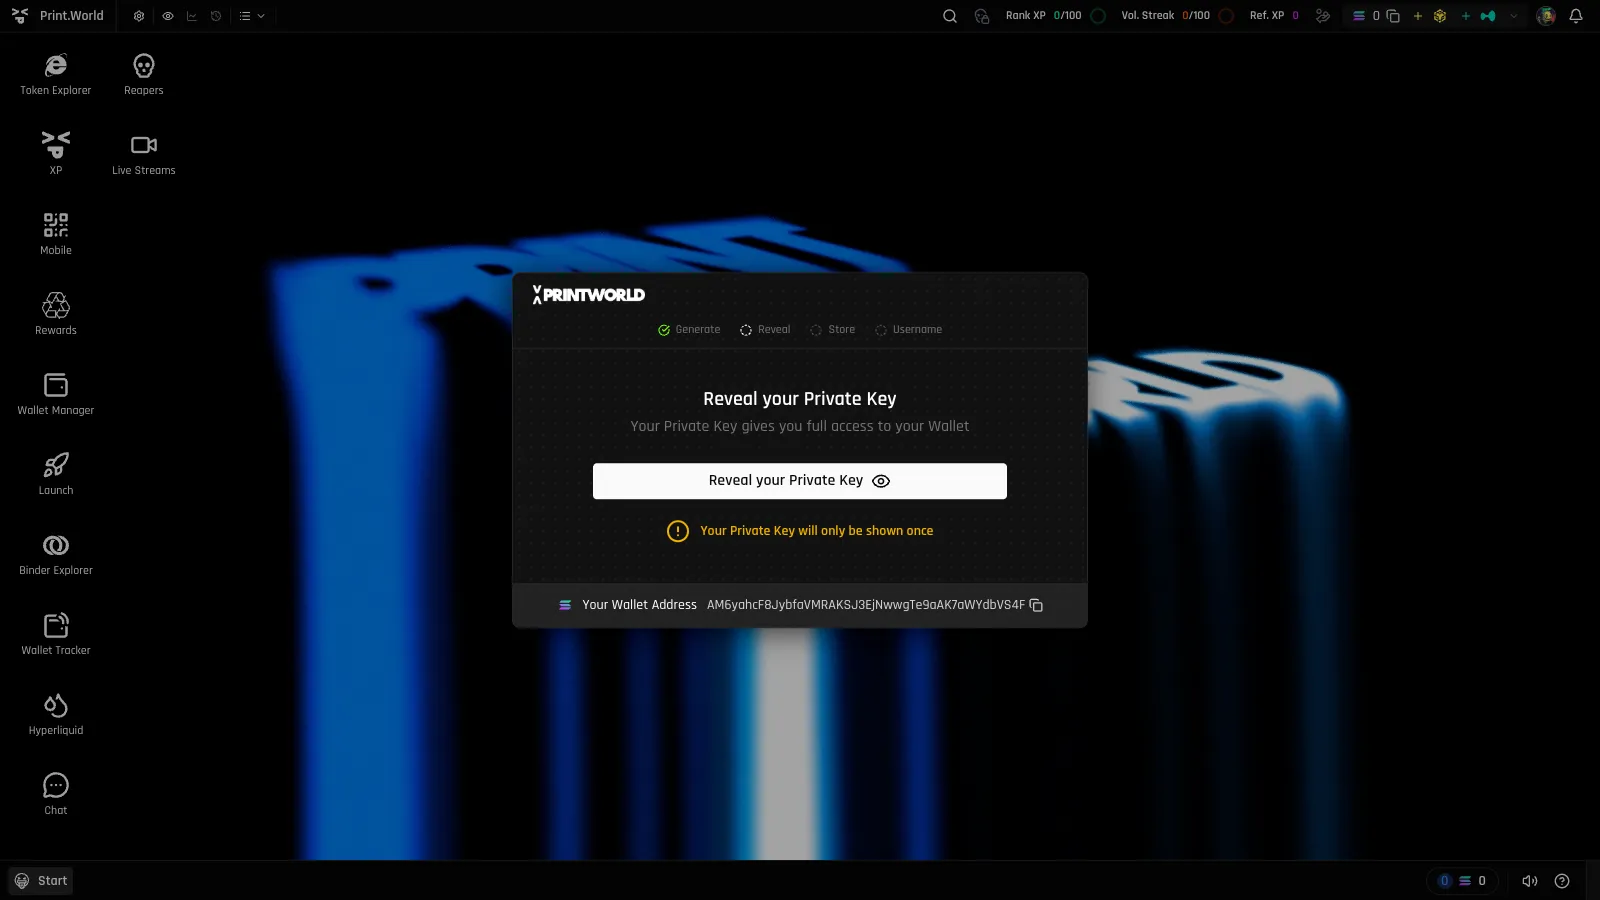
Reveal. The “Reveal your Private Key” screen warns that your private key will only be shown once. Continue when you’re somewhere private — treat this step like handling cash.
-
Store. On “Store your Private Key safely”, you can show or hide the key, copy it, or download it as
Print Wallet Keys.txt. You must confirm two checkboxes — that you copied your private key and saved it in a secure location — before you can continue.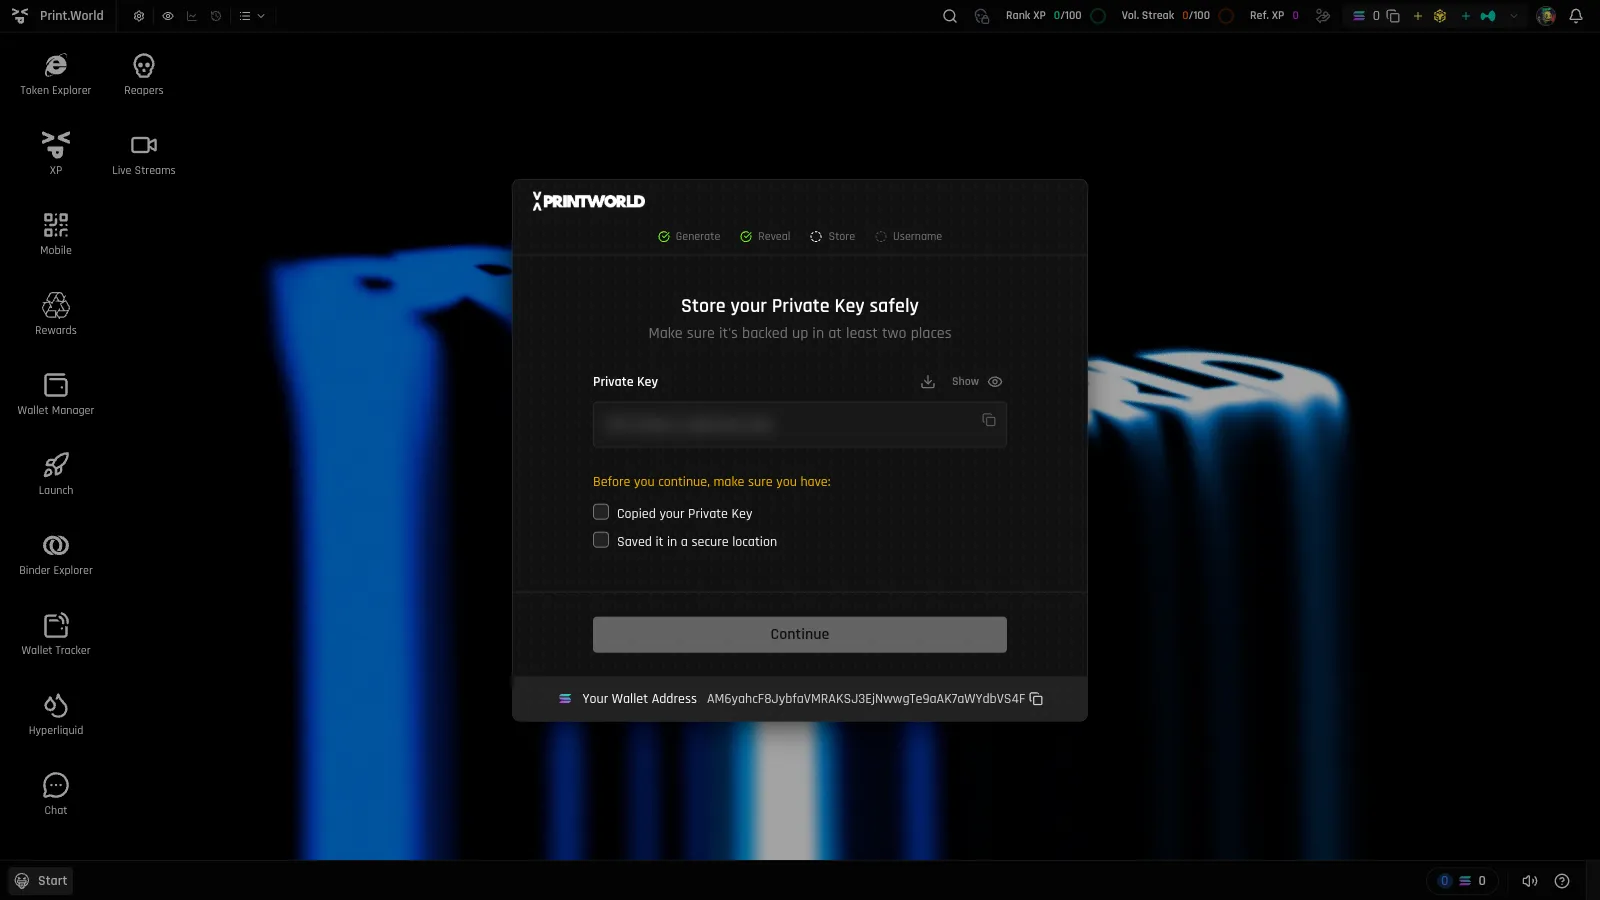
-
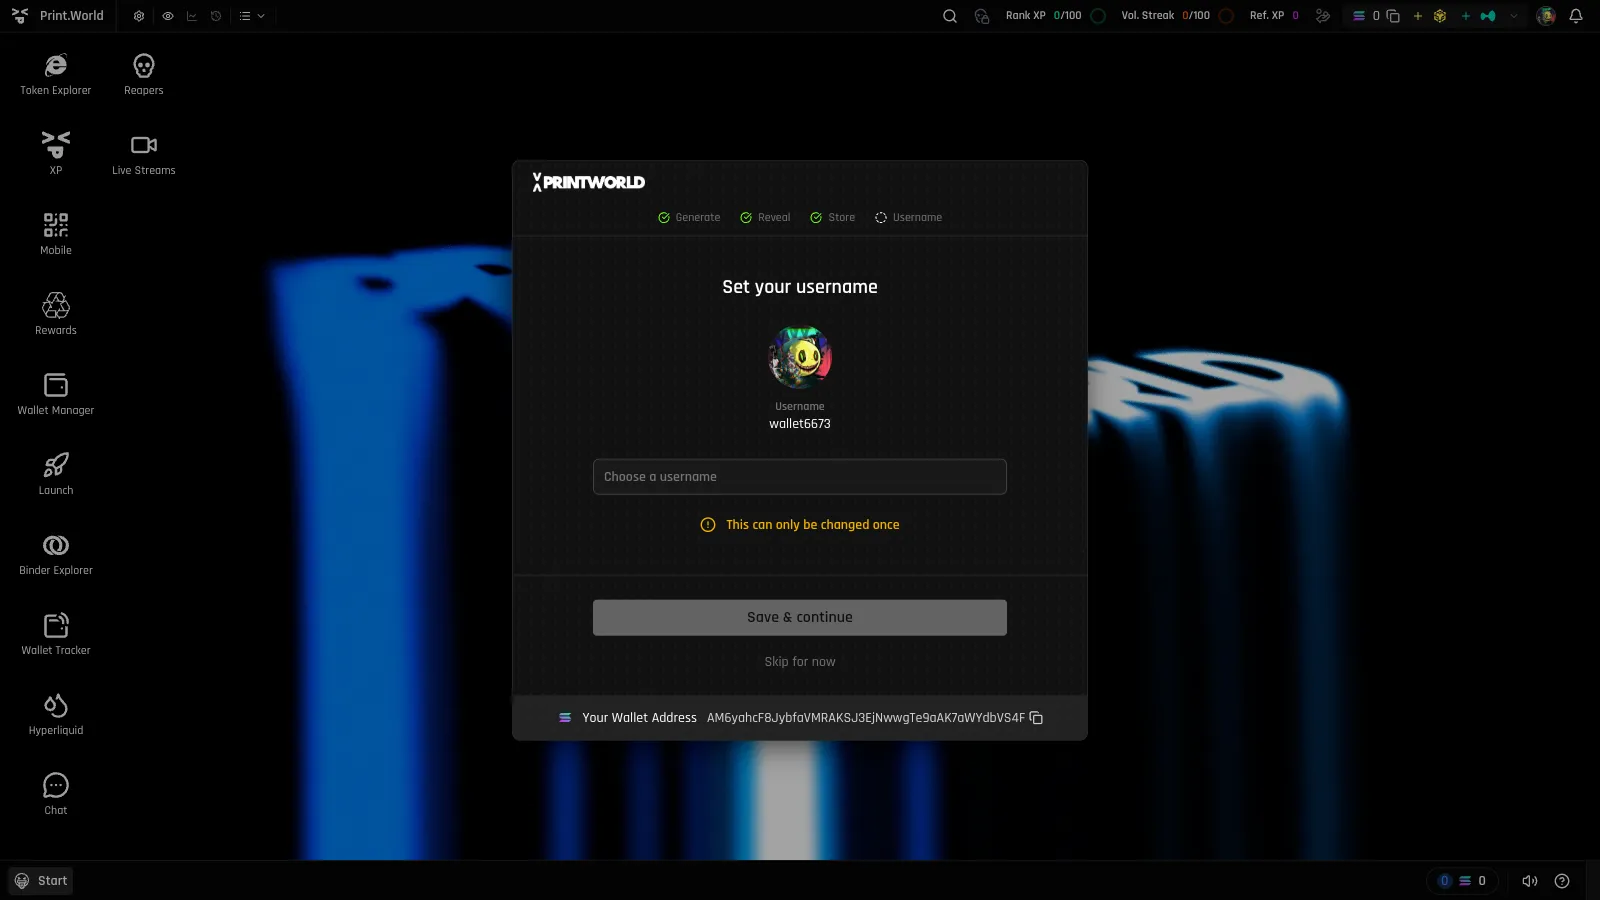
Username. Pick a username — up to 13 characters, using letters, numbers, and underscores — or choose Skip for now. A username can only be changed once, so choose carefully.
-
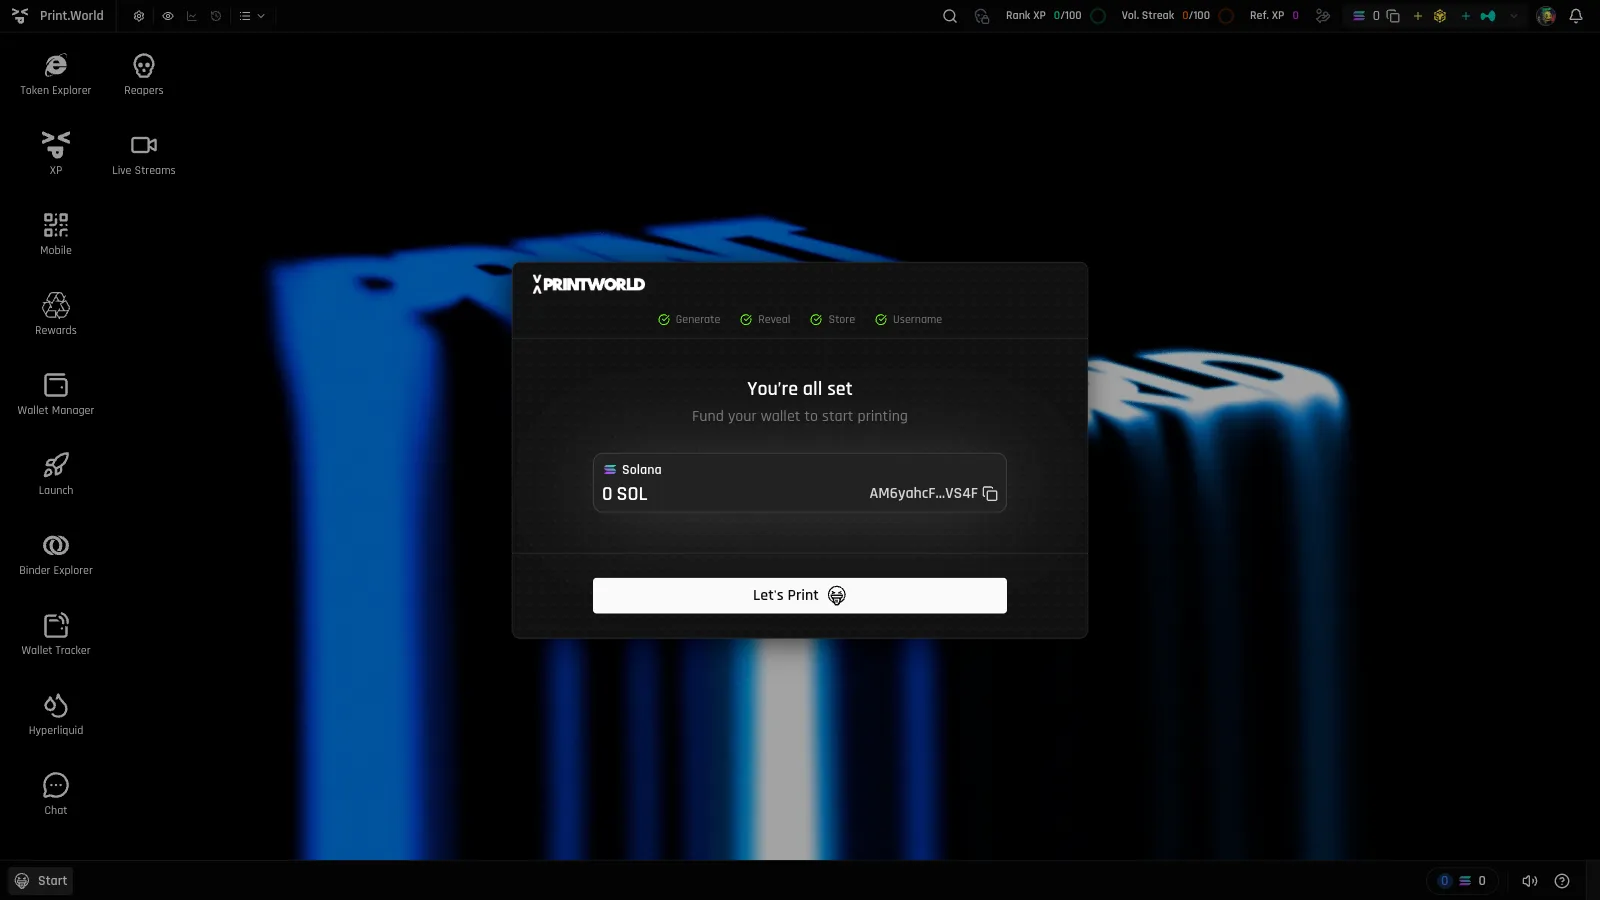
You’re all set. The final screen shows your new wallet address and SOL balance. Copy your address, fund it, and hit Let’s Print.
Backing Up Your Private Key
Section titled “Backing Up Your Private Key”Your private key is the master credential for your Print Wallet — anyone who has it has full access to the wallet and everything in it.
- It is shown once during onboarding. Back it up in at least two secure places before finishing the Store step.
- Never share it. No print.world feature will ever ask you to paste your private key into a chat, form, or website — treat any such request as a scam.
- You can export it again later from the Wallet app after passing an additional security verification. See Wallet Security.
Funding Your Wallet with SOL
Section titled “Funding Your Wallet with SOL”The final onboarding screen says it directly: “Fund your wallet to start printing.” Copy your wallet address and send SOL to it from an exchange or another wallet. Your balance is visible on that screen and, at any time afterwards, in the Wallet app.
Linking a Mobile Device
Section titled “Linking a Mobile Device”Already signed in on desktop? Link your phone by scanning a QR code instead of signing in again — the phone joins the same account, with the same Print Wallet and settings.
-
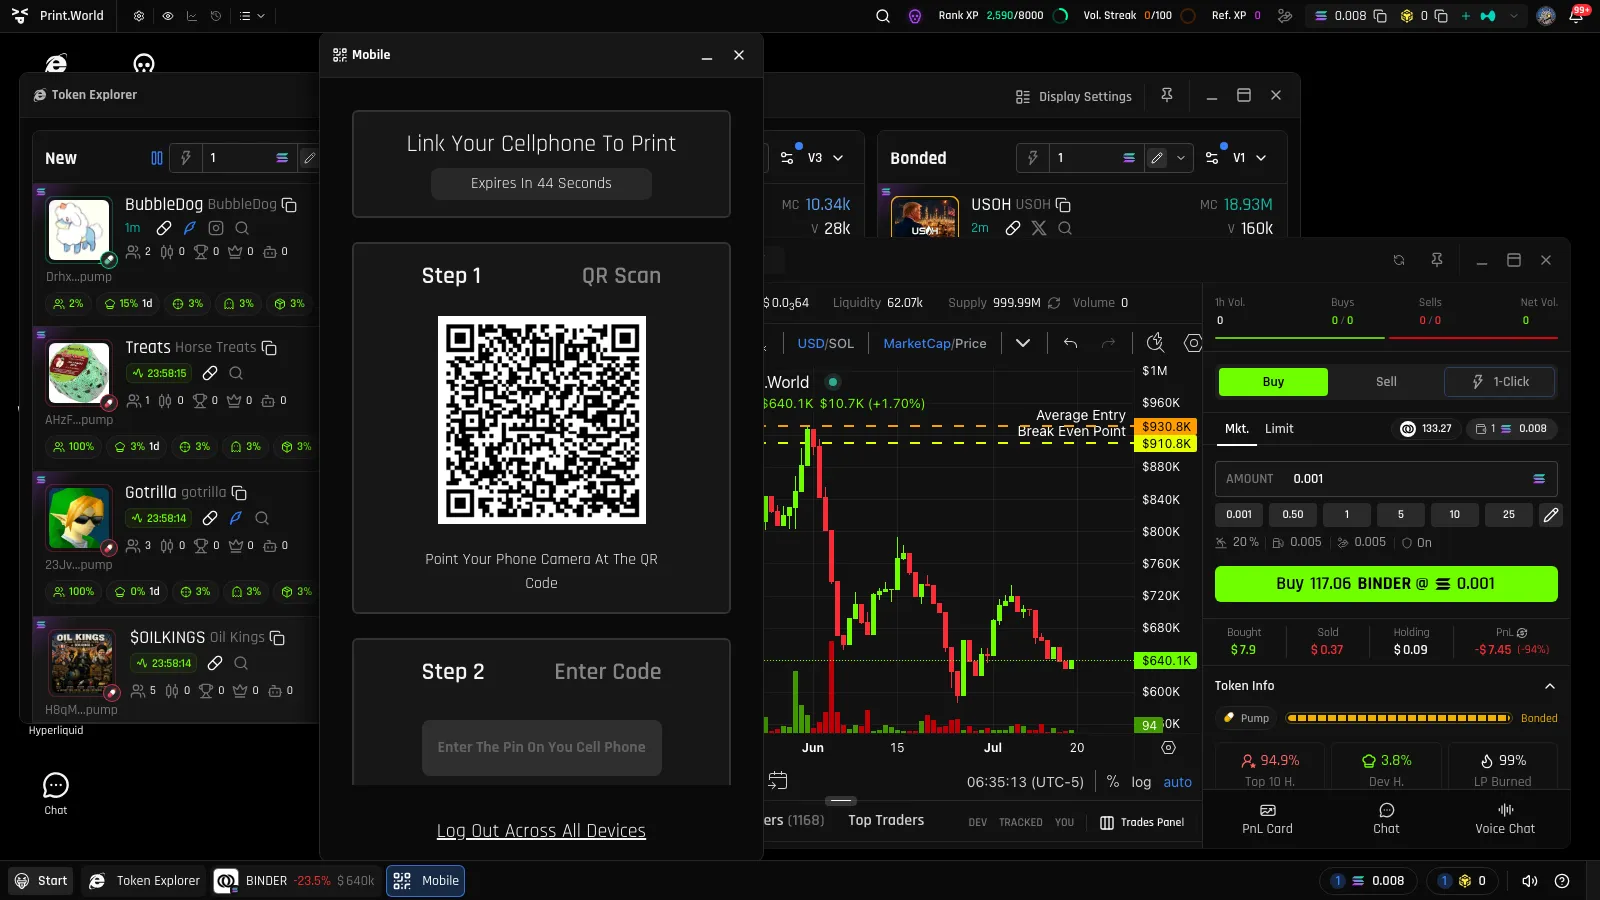
On desktop, open the Start menu and choose Connect mobile device. A QR code appears — it expires and refreshes every 60 seconds.
-
On your phone, open print.world, tap Sign in, then Sign in with QR code.
-
Allow camera access and scan the QR code on your desktop screen.
-
Confirm the one-time code shown on both devices within 60 seconds.
-
Your phone is now signed in to the same account.
The same Connect mobile device window also lets you end every session at once — see Logging out on every device.